These woodland animal headbands – made from twigs and pine cones – are a simple & fun nature craft for both kids and adults.

Last autumn we collected a lot of pine cones! I mean a lot! – and we did a lot of pine cone crafts! Eventually we needed some new ideas – and we ended up creating these cute woodland animal headbands. Because we all loved them so much, I thought I would share this super simple nature craft activity idea with you!


How to make Woodland Animal Headbands
Simply follow our step by step tutorial to make this easy nature diy craft

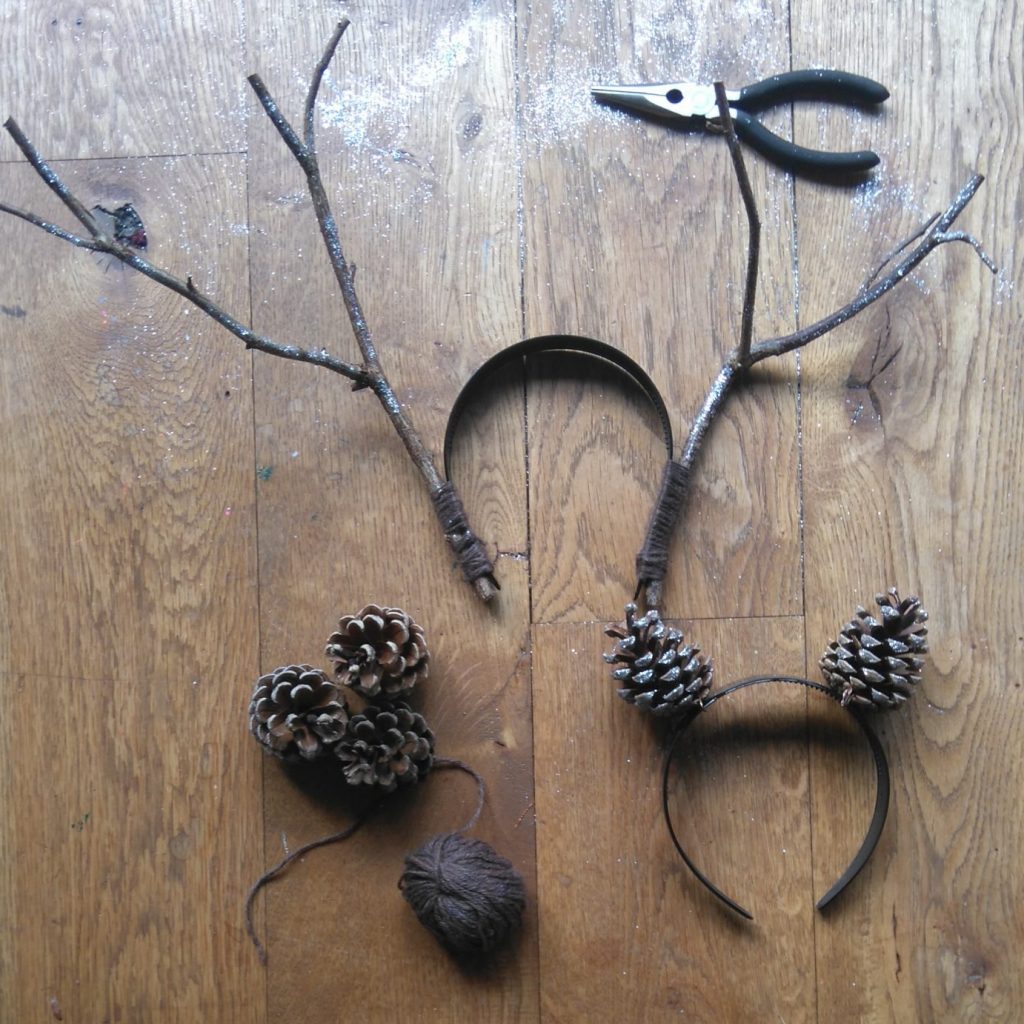
For this project you will need:
- Plain sturdy alice bands
- Twigs and pine cones (look for twigs that resemble antlers!)
- Strong wire
- wool or string
- Glitter (optional)
- PVA glue (optional)
Deer woodland animal headband with Pine Cones

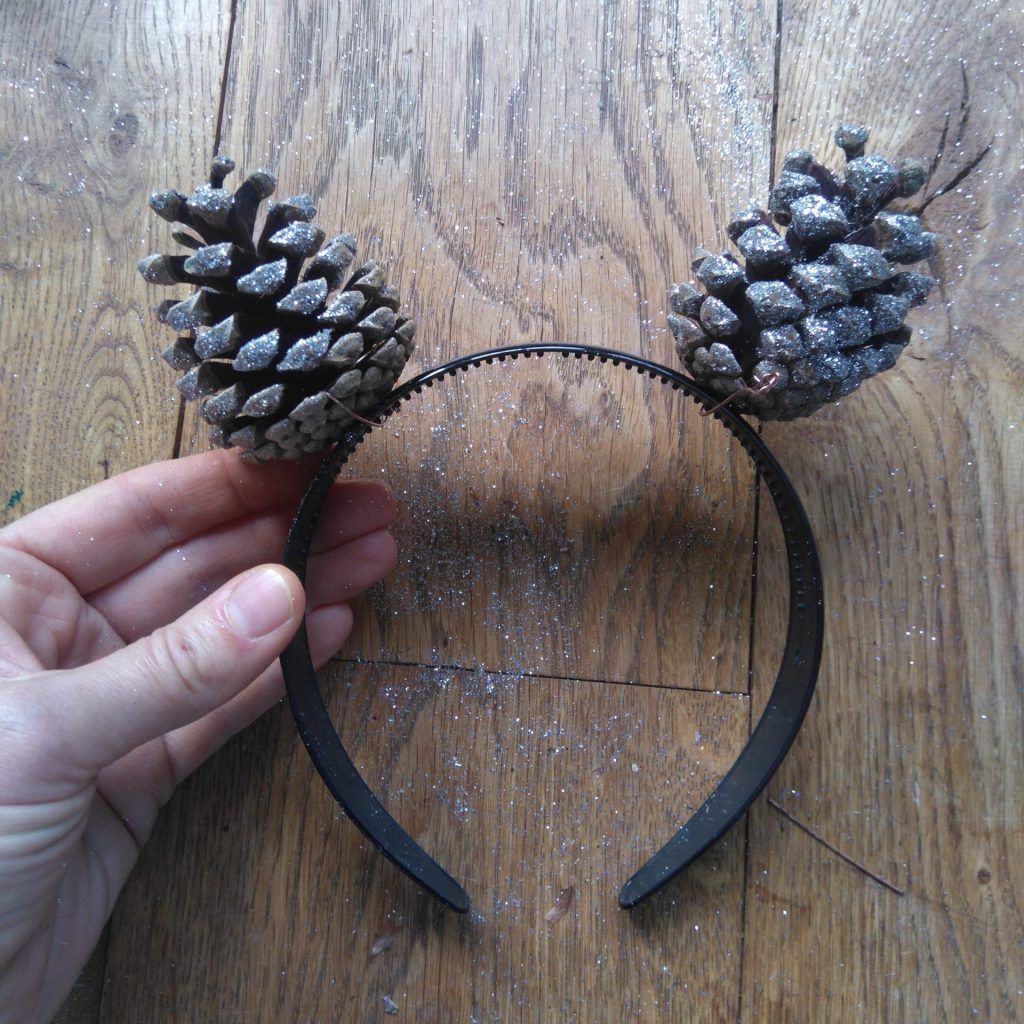
If you would like glitter on your Deer headband apply PVA glue to your pine cones – drizzle with glitter – and leave to dry.

Attach wire to your pine cones. Push the wire into the base of the cone and go half way around the base, pushing the wire all the way into the cone.

Bring the wire ends together one side of the pine cone and twist to secure, creating a wire ‘loop’ at the base of the cone. Cut off excess wire.

Slide the pine cones onto your plain alice band, using the wire ‘loops’ you created earlier.

That’s it! Your Deer woodland animal headband from pine cones is ready to wear!

How to make an Antlers headband from twigs
Firstly select a couple of good size twigs that resemble antlers! Twigs with a single wide base and narrower offshoots at the top are ideal. Cut your twigs to size, determining how long you antlers will be!
Secondly – if you would like a little sparkle – apply PVA glue to your sticks, sprinkle with glitter and leave to dry.

Now youre ready to assemble your antlers nature headband.
Fold a piece of wool/string in half creating a loop. Put the wool (loop end) around the alice band and twig. Thread the two loose ends of wool through the loop like above. Pull tightly to secure the twig to the alice band.

Continue tying the wool round and round the stick and alice band, until you get to the end. Fasten securely with a knot.

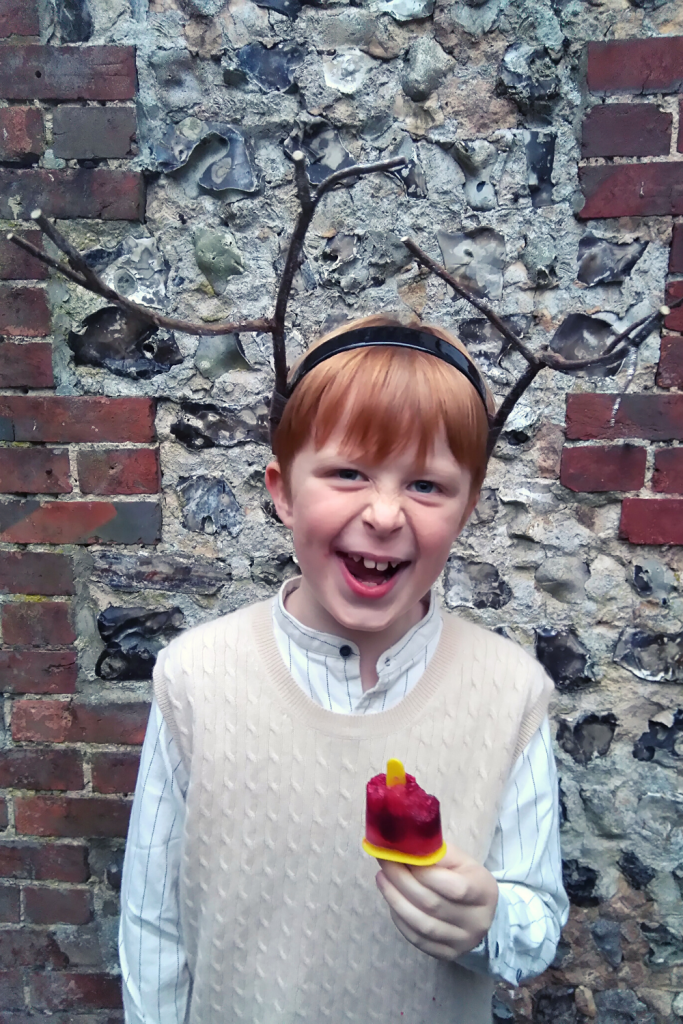
Your antlers nature headband is ready to wear! However remember to take care in doorways – we got caught out a few times with our new height!
How to make a pine cone unicorn headband
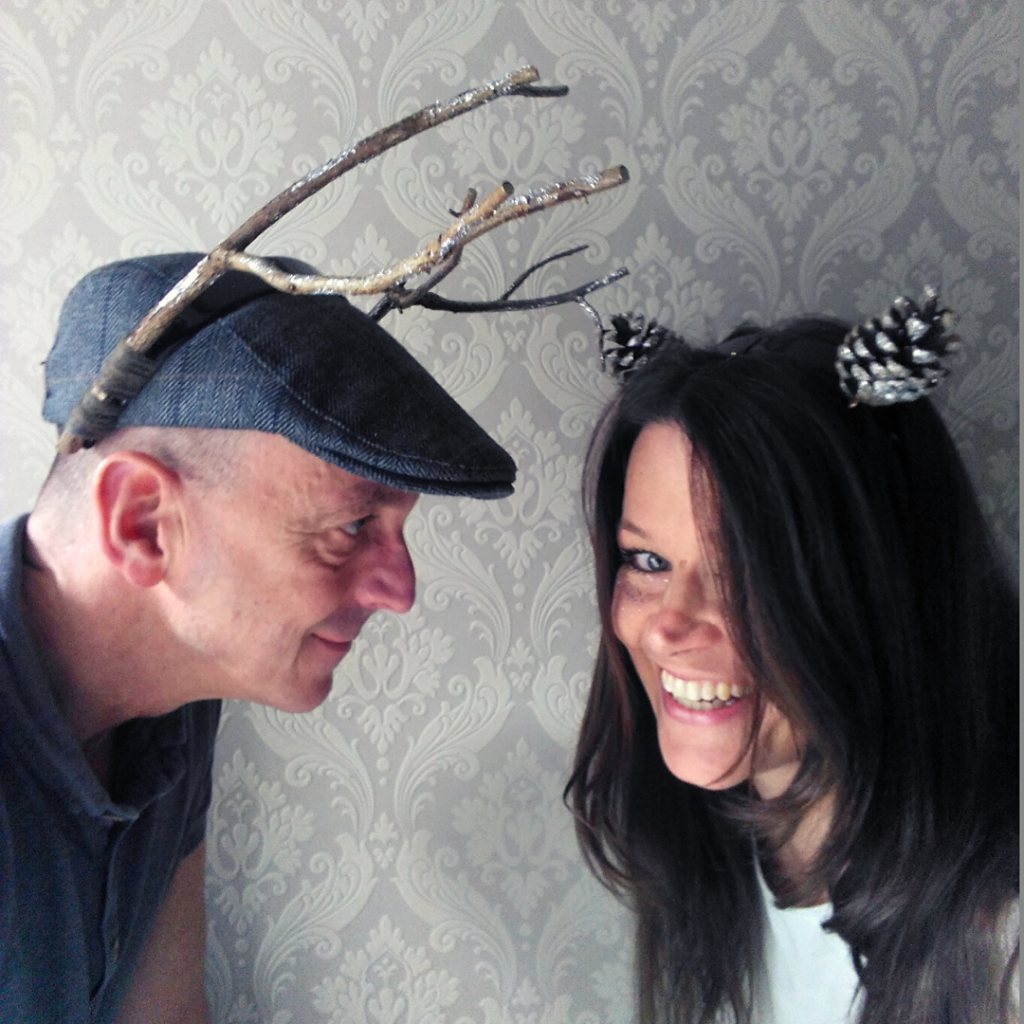
The cute pine cone unicorn headband is probably my favourite from this project! To craft is simply follow the instructions for the deer headband above. However – needless to say – only use one pine cone and position it in the middle!
Tip! If you have long hair, you can twist it around the base of the cone to hide the wire and alice band (as I did below). Alternatively you could use a ribbon for this purpose.

I loved my unicorn headband so much, guess what I was for Halloween? You guessed it – a sparkly Woodland Unicorn!

In summary, we had a great time as a family with this nature craft diy activity. Two years later the headbands still make an appearance at various family celebrations – and I’m sure they will continue to do so!
I hope you have fun with this idea – and if you do please send me a pic! Or tag #theawesomechildhoodproject on social media so I can find your project and share it!
Want more nature craft ideas? Why not create some pretty Nature Confetti Poppers with flower petals and toilet roll tubes?
Please email me anytime at ulla@theawesomechildhoodproject.com if you have a question, requests or comments
I love post! – and I will always get back to you as soon as I can x x


